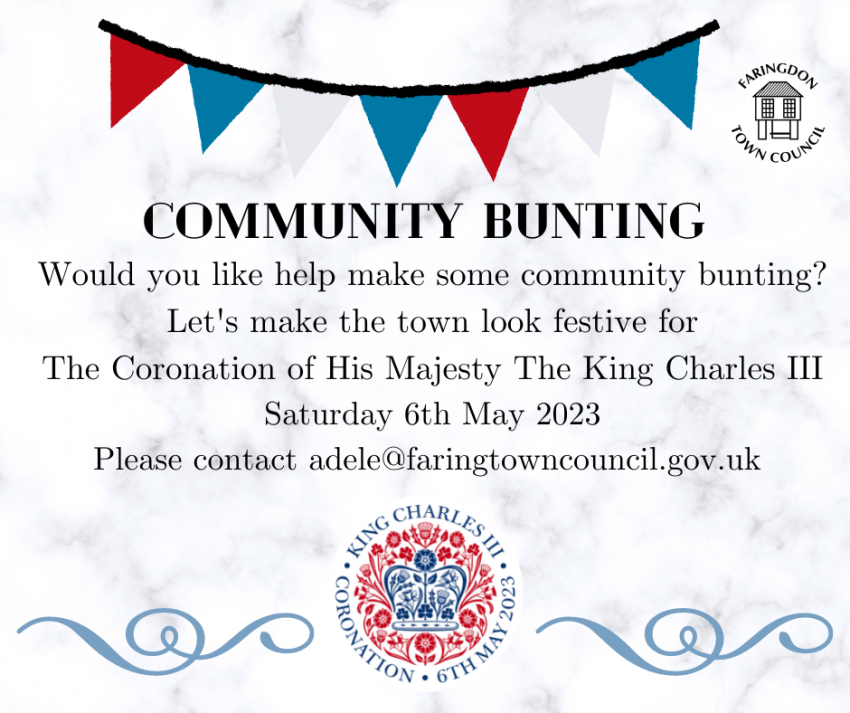
Would you like help make some community bunting?
Let’s make the town look festive for The Coronation of His Majesty The King Charles III
Saturday 6th May 2023
Please contact [email protected]
How to make Celebration Bunting
Simple single sided bunting
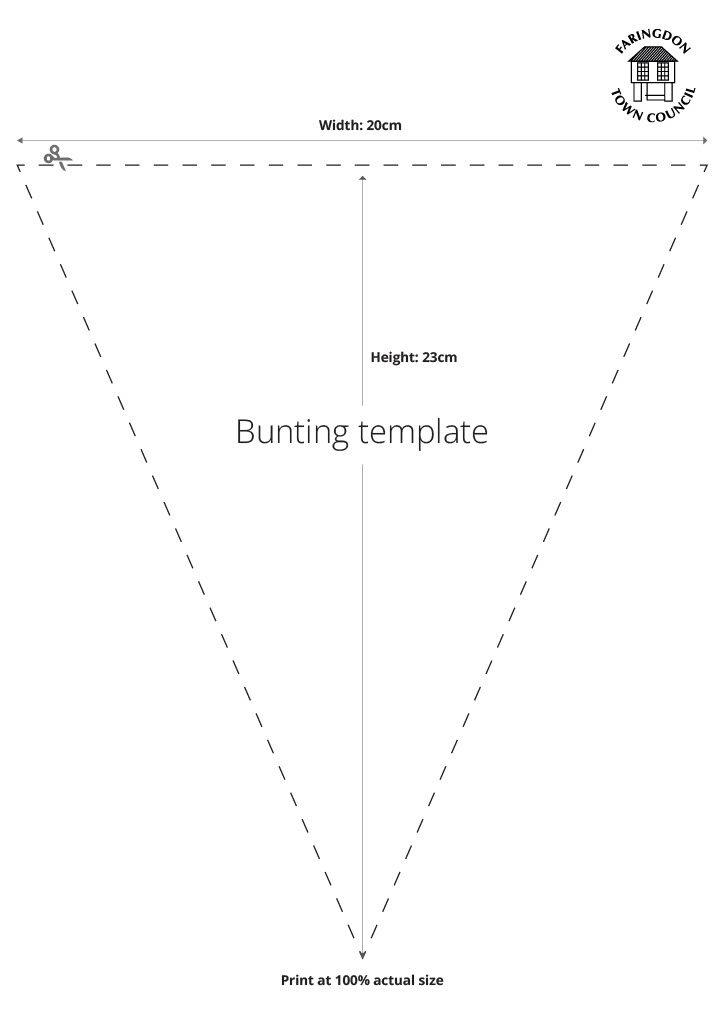
Step 1: Cutting
Start by drawing around your template with chalk or removable pen.
Cut out your triangles. You will need 1 piece per flag.
How many you cut will depend on how long you need your bunting to be and how large a gap you will put between each flag.
Step 2: Attach the ribbon or tape.
Fold your ribbon or tape in half so it encases the raw edges.
Make sure the edges are matched up on either side of the ribbon or tape.
Place your flags about 20 cm apart.
Step 3: Stich the ribbon or tape
Stitch all the way along the edge of the ribbon or tape with a straight stitch.
Step 4: Display your beautiful bunting!
More experienced sewers made wish to make double side bunting.
HOW TO MAKE DOUBLE SIDED BUNTING:
INSTRUCTIONS
STEP 1: CUTTING
Start by drawing around your template with chalk or removable pen.
Cut out your shapes. You will need 2 pieces per flag (one for the front and one for the back). How many you cut will depend on how long you need your bunting to be and how large a gap you will put between each flag. You can lay the pieces out roughly to work out how it will look.
STEP 2: STITCH THE EDGES
Place 2 pieces with right sides together. With a ¼ inch (6mm) seam allowance, stitch around the sides and bottom leaving the top open.
STEP 4: TURN AND PRESS
Turn the flag the right way out and give it a good press.
STEP 5: ATTACH THE BIAS
If you are using double folded bias for the tape, then open up the bias and slip the raw edge of the flag inside up to the fold. Pin it in place.
If you are using ribbon, fold in half so it encases the raw edges. Make sure the edges are matched up on either side of the ribbon. Place your flags about 20cm apart depending on your taste and the distance you need to cover.
STEP 6: STITCH THE EDGE OF THE BIAS
Stitch all the way along the edge of the bias or ribbon. Use a zig-zag stitch of width 3.0 and length 3.0 as this will catch in all the edges of your bias and ribbon and be much more durable than a straight stitch.